Installing electric fencing might be a challenging and time-consuming process, so it is crucial to inform yourself as much as you can before starting! There are so many things to take care of! Starting from the layout and vision to small details like best tools to use. With this short, but informative guide you will be ready to install the fencing of your own in no time!
The Layout of your Electric Fence
First of all, a layout has to be planned. Do you want to fence in the large area or create a small paddock? For what kind of animal you are building your fence? On what kind of terrain your fence is going to be situated? This will help you to decide what kind of materials should be used, how many posts you will need and what grounding measures should be taken.
Materials
Once you decide on a layout of your electric fencing it is time to start getting the materials needed. Take care of durable corner posts, fencing posts and fencing material that will fit the needs of your animal the best, select a charger that is the most suitable for your fencing solution.
Energiser Installation
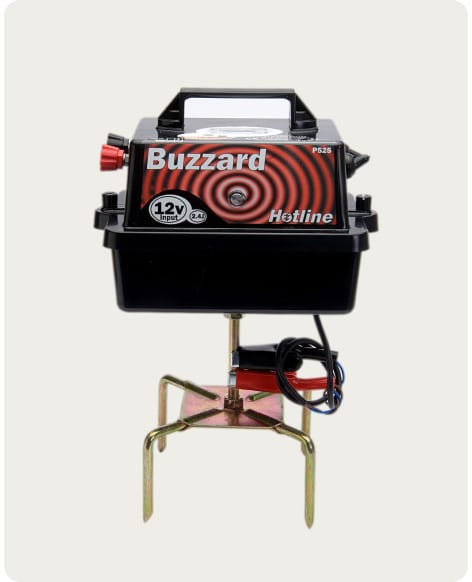
Set up the energiser. Depending on the type you are using - solar, mains or battery, make sure you are setting them up the right way. If you are using mains energiser, make sure it is situated in a weather-proof with a spot for an electric charger. Usually, as chargers are pretty expensive they are very popular among thieves. It is recommended to keep them in the locked area or in the area which is closed to your eye.
Also, mains energiser should have a separate grounding system than your house or yard. Solar power charger, on the other hand, will need an open space with a plenty of sunlight. If battery energiser is being used, make sure that it is as close to electric fencing as possible, it is also recommended to protect it from sunlight and moisture.
Most usually, however, every energiser comes with step-by-step installation guide, so it is advisable to follow that one closely.

Proper Grounding
Majority of electric fencing problems happen because the grounding step is missed or is done incorrectly. To make sure that your electric circuit won’t suffer, grounding stakes have to be at least one meter high. Pay very close attention to soil used - make sure that your grounding stakes will be able to remain stable there - they have to be dug in at the very least 1 metre deep, but sometimes even deeper, if a soil is rockier or not as thick. For your convenience, almost every energiser comes with its grounding manual.
Fence Post Installation
First things first, after the grounding take care of the corner posts. These are usually made from materials like sturdy wood or metal. After that, depending on the animal you want to keep in, the posts for the fence line itself have to be decided on. For the best heights refer to the picture below. Also, it is very important to decide whether you want your fence line to stay temporarily or for a long term. Usually, plastic and fibreglass posts are the most popular decisions as they are easy to maintain and are relatively cheap. They come with hooks for electric taping and wiring already hooked on to them, so they don’t need any additional clips an insulators, however, if they don’t have those, you will also have to take care of insulators which will fit your fence line the best.

Fencing Line Installation
After you place fence posts and screw in the insulators it is now a right time to take care of the fence line. Pick electric tape, wire or rope which suits your fencing the best. It is important to note, that rope or wire should never be wrapped around the post without using insulators, as the result of it might be a poor conductivity or your tape coming loose. It is very important to make sure that the rope, tape or wire is as tight as it gets and absolutely straight. If a wire is being used, it is convenient to use tensioners and cable pullers to make installation easier. Also, when deciding on what kind of animal you want to fence in or keep out it is important to acknowledge that all of them need different approaches when it comes to installation of wire, rope or tape. For reference, check the picture above. Also, for better conductivity, cut out all high grass and weeds away from the fence line.
Electric Fence Testing
Once you are done with all the previous steps run the energiser. There are various testers to check on your electric fencing. Proximity testers would detect energy within a short distance and would notify whether the energy current is on or not. They are not usually used for fault detection, as they cannot locate faults, they just show the current status of the electric fencing. There are testers which are able to find faults when employed to either energiser, fence line, or earth to find the part which is at fault. Also, there are self-earthing units which are able to show faults in the most accurate matter by giving the indication where the particular fault can be found in the fencing system. If there are no faults, you should proceed with checking the voltage. The norm is usually described in the energiser manual, but no more than 2000 volts as this indicates about the fault in your circuit. Also, the correct maintenance of the fence is the key - after the installation is done successfully, make sure to check your fencing daily.
Now, with all this information you are almost ready to set up the fence of your own! Feel like you still have unanswered questions? Write us a line! We will consult you on this matter and will help to pick the best materials for your fencing! Feel free to use the pictures too!








![The Ultimate Electric Fencing Guide for Horses [Infographic]](http://us.equestrianco.com/cdn/shop/articles/postoimage_1280x.png?v=1530276676)